Unleashing the Power of Your Air Fryer: A Step-by-Step Guide
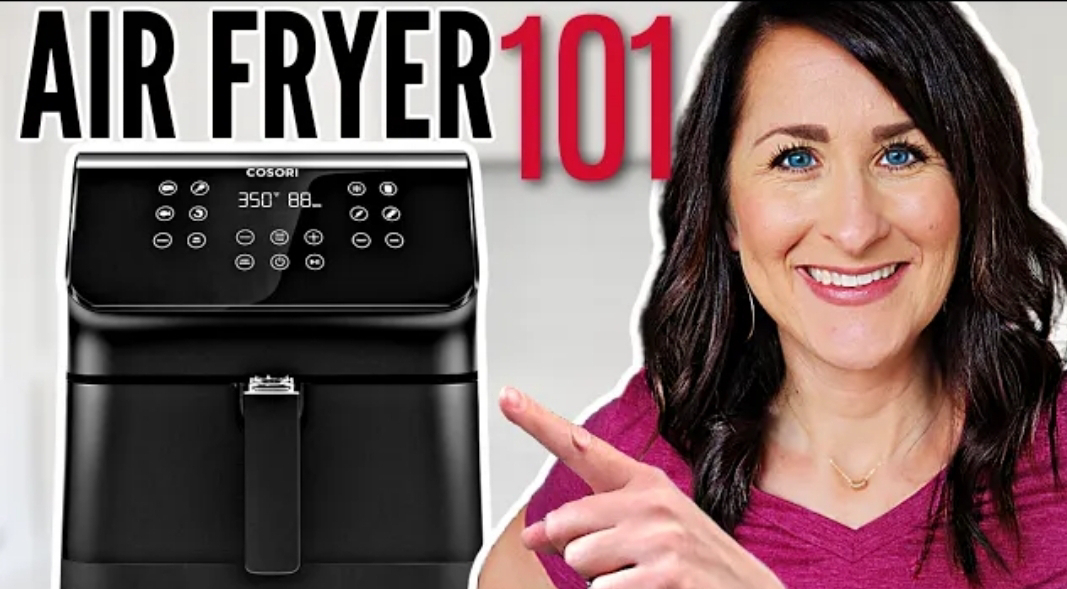
You've finally got yourself an air fryer, and now you're wondering, "What do I do with it?" Don't worry, you're not alone. Many new air fryer owners feel the same way. I remember my first air fryer collecting dust for months before I figured out how to use it. Fast forward to today, and I'm known as the Air Fryer Queen online. I've helped tens of thousands of people become confident air fryer users, and now it's your turn.
In this guide, I’ll provide you with essential shortcuts and important hacks to make the most of your air fryer. By the end, you'll be eating healthier, saving time and money, and having more fun cooking.
Step 1: Unbox Your Air Fryer
First, get your air fryer out of the box. Check inside for any packaging materials that need to be removed. If your air fryer comes with a user manual or recipes, keep them handy. While some included recipes may not be great, I’ve got plenty of reliable recipes to share later on.
Step 2: Initial Setup
Before using your air fryer, give the basket a quick wash with warm, soapy water to remove any factory residues. Wipe down the interior with a damp cloth. After reassembling, run the air fryer empty at its highest temperature (usually 400°F or 200°C) for 10 minutes. This step helps burn off any remaining factory residue and odors.
Step 3: Proper Placement
When setting up your air fryer, ensure it’s at least 5 inches away from any walls. Keeping it on your counter will encourage more frequent use. Take some time to familiarize yourself with the controls, including the power button, temperature settings, and any presets.
Step 4: Cooking Basics
Start with something simple like frozen French fries. Generally, you can reduce the oven cooking time by half and lower the temperature by 25°F for air frying. For example, if the package suggests 425°F for 30 minutes in the oven, set your air fryer to 400°F for 15 minutes. Most air fryers have a shake reminder feature to help you evenly cook your food.
Step 5: Preheating
While some air fryers require preheating, many do not. Preheating can reduce cooking time slightly, but it's usually unnecessary unless you're baking or cooking something that needs a quick sear.
Step 6: Using Oil
Avoid aerosol sprays with propellants that can damage the non-stick coating. Instead, use a refillable oil sprayer. Most frozen foods already contain enough oil, but a light spritz of oil can help seasonings stick and enhance crispiness for homemade recipes.
Step 7: Cooking Greasy Foods
For greasy foods like bacon, place a slice of bread in the bottom of the basket to absorb excess grease and reduce smoke. Cook bacon at 380°F for about 10 minutes, adjusting based on your preferred crispiness.
Step 8: Monitoring Cooking Times
Air fryer cooking times and temperatures can vary based on the model and wattage. To ensure perfect results, use an instant-read thermometer. Check the wattage of your air fryer (typically found on the back or bottom) to adjust cooking times accordingly. Higher wattage air fryers cook faster.
Bonus Hacks
- Use an Instant-Read Thermometer: This ensures your meat reaches the perfect internal temperature.
- Free Cooking Guide: Download my free PDF guide with recommended internal temperatures and top air fryer tips at empoweredcooks.com/sfree.
Post a Comment for "Unleashing the Power of Your Air Fryer: A Step-by-Step Guide"
Post a Comment